So I've been meaning to get around to another blog post for quite awhile as you can see by looking at the date from my previous post - eek! But you know how it goes, life happens, house things break, pets need attention, work is crazy, babies are born and before you know it you still have bird poop on your shoulder and you haven't brushed your teeth in two days. Or um maybe that's just me. But I digress...
In between all this madness, I've been creating some children's book work to add to my portfolio and hopefully attract the attention of an agent or art rep. Here is my process.
STEP ONE: STARING OFF INTO THE ABYSS
The first step involves some morning idea flow. It may look like I am staring off into the distance with nothing but tumbleweeds rattling around my brain, but I am actually just sitting on my couch, drinking coffee and letting ideas bounce in and out. With a four month old in the house, I have to sneak downstairs extra early to make space for this precious creative time.
STEP TWO: JOTTING DOWN ANY GOOD IDEAS
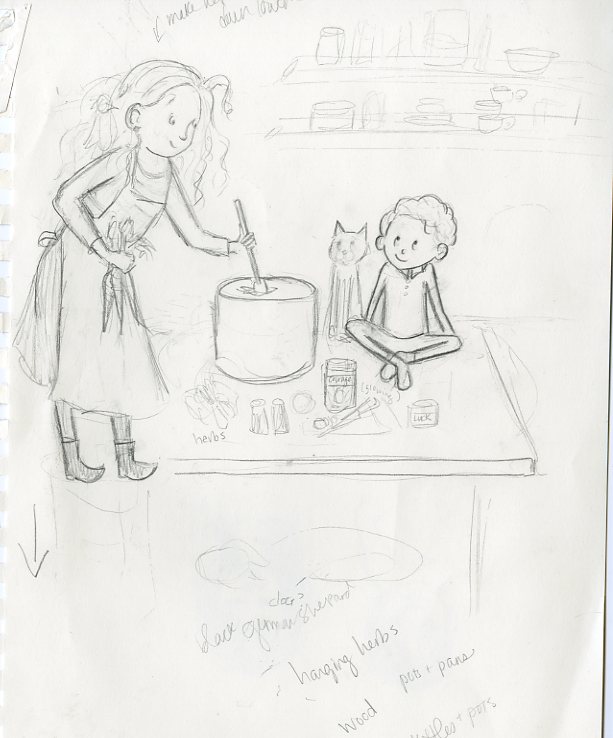
If an idea sticks and seems like it has legs as a story, I will jot a bunch of words, sentences, phrases and doodles in my sketchbook. I've never kept a "pretty" sketchbook, mine always ends up looking very chicken-scratchy, with more writing than imagery, but this is my creative process and how I make sense of my ideas.
Loose, sketchy ideas come first
STEP THREE: REFINING THE SKETCH
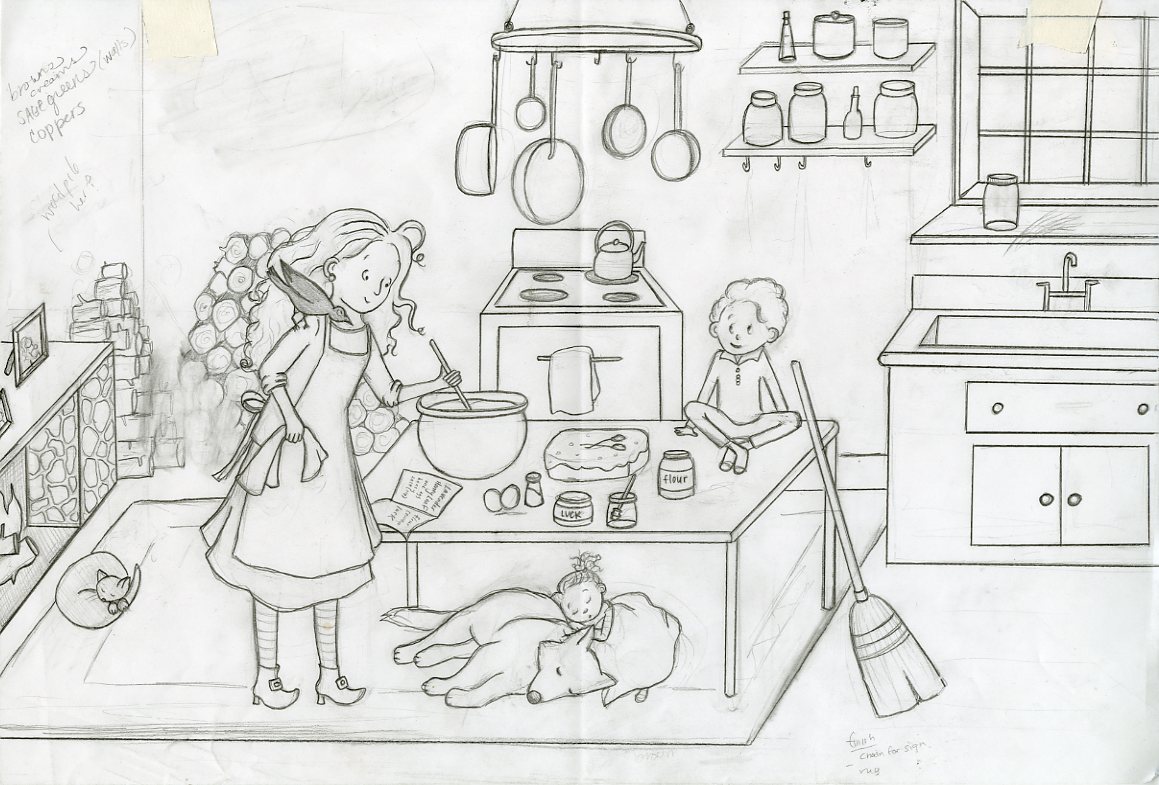
I then look at my chicken scratch and gather reference material from magazines and the internet, to help refine the drawing. This is where the most analytical thinking is happening, and I can't even listen to music while I'm figuring out where things go and how to design the page.
A semi-refined sketch that is ready for transfer
STEP FOUR: THE FUN PART!
The next part of the process is what I find to be the most satisfying! After the sketch is finished, I will transfer the image to watercolor paper using either a light box or graphite paper. In this particular piece, I used black Saral Graphite Paper. After transferring the sketch, I will choose my colors and begin the ever so fun process of painting everything in. This is where I can play music or listen to podcasts and generally let my mind wander.
Watercolor painting in progress
A little help from my studio assistant
STEP FIVE: FINISH, SCAN, EDIT ANY COLORING ISSUES WITH PHOTOSHOP AND THEN PAT MYSELF ON THE BACK FOR ACCOMPLISHING SOMETHING OTHER THAN WATCHING REAL HOUSEWIVES IN MY PAJAMAS
Final Art
All Images ©Meg Auchenbach 2018


